Amazing what a little stain can do!

after spata 1
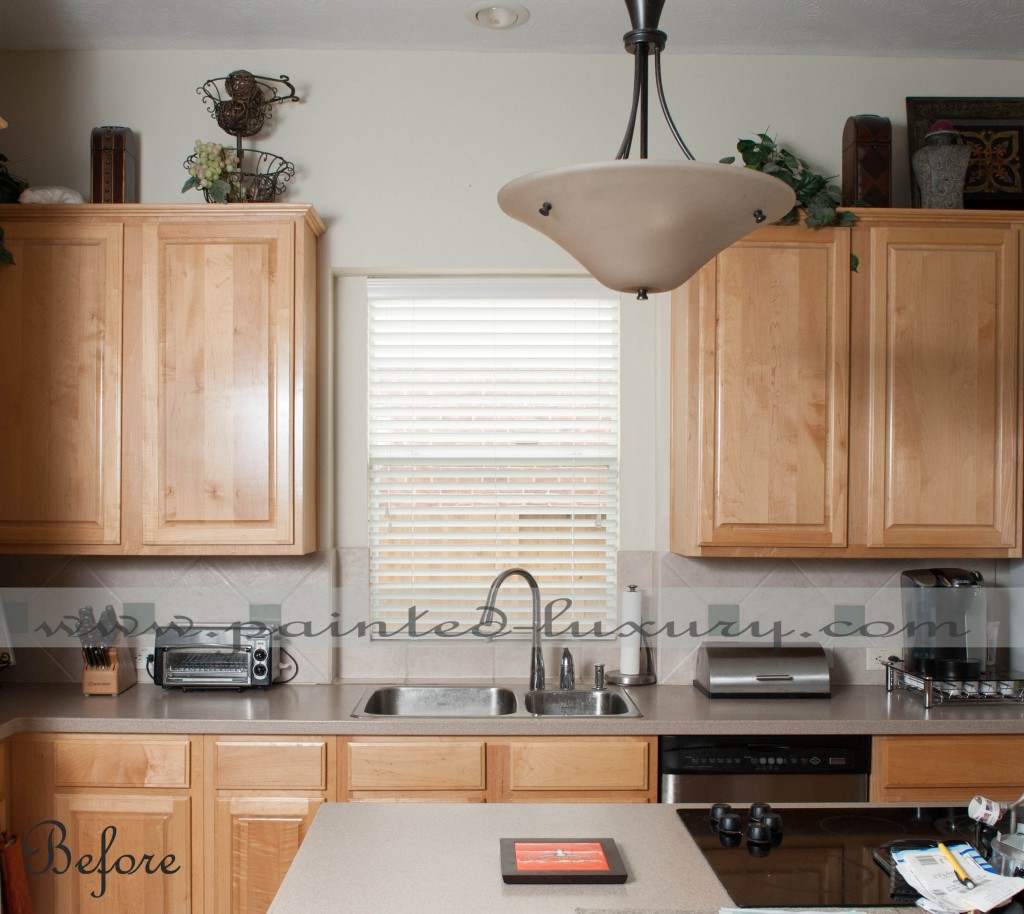
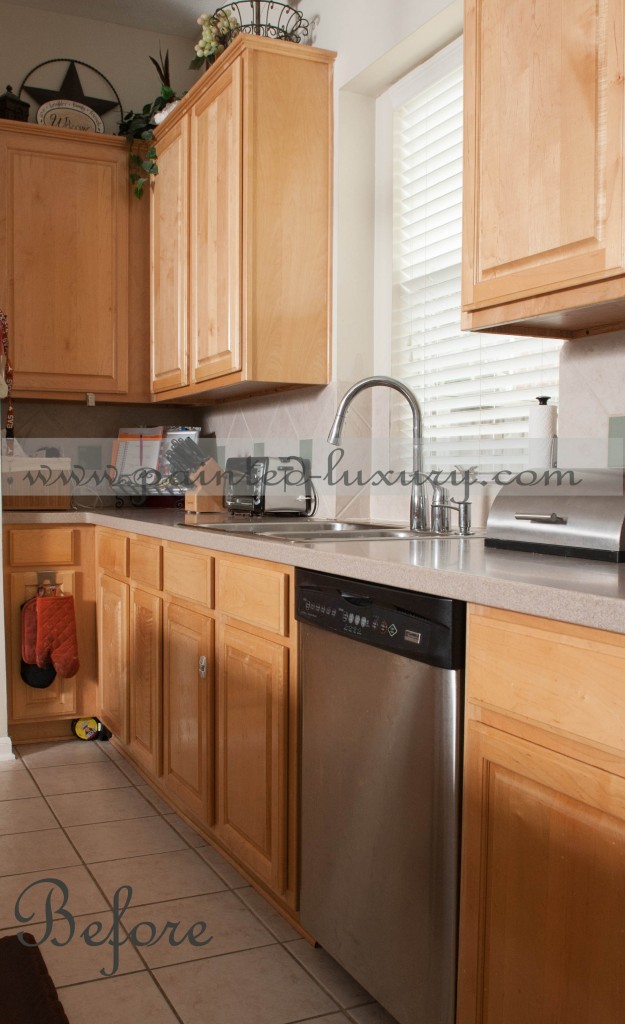
I love this picture. I love this technique. I have so many requests for it. You have a nice wood kitchen, staircase, or bathroom…but you don’t care for the color wood? That’s where I come in! This beautiful kitchen started like this:

before spata 1
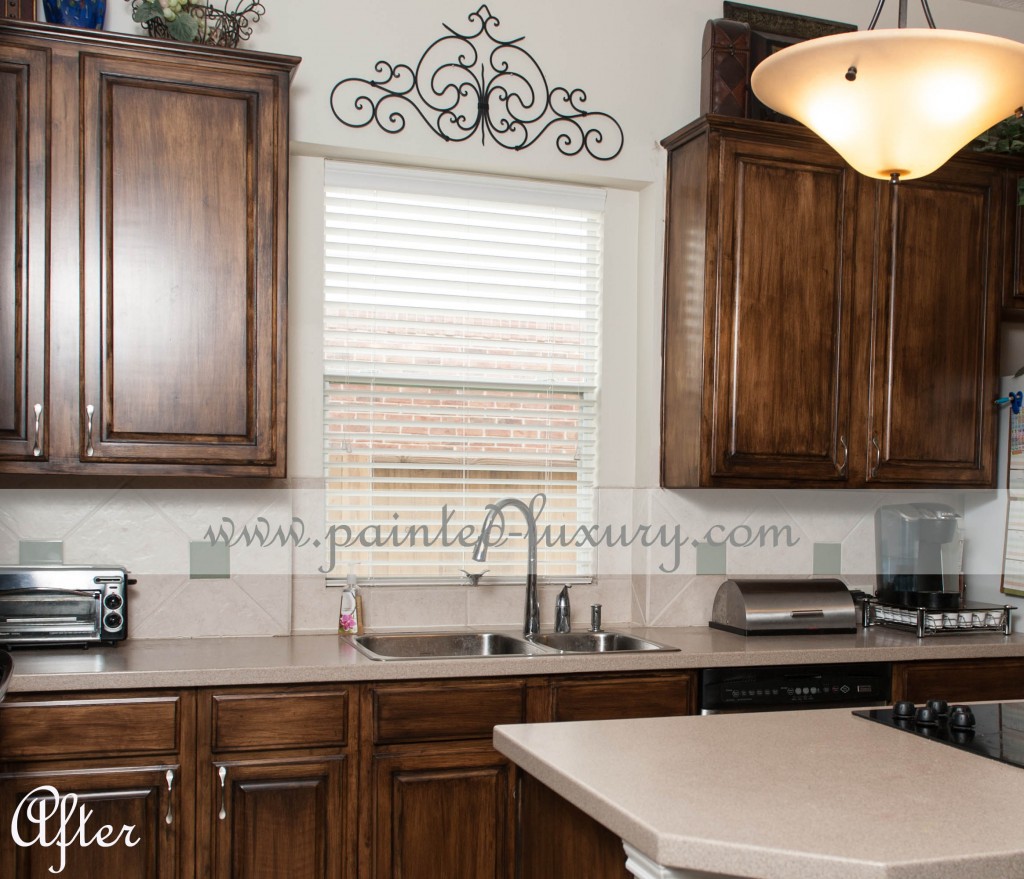
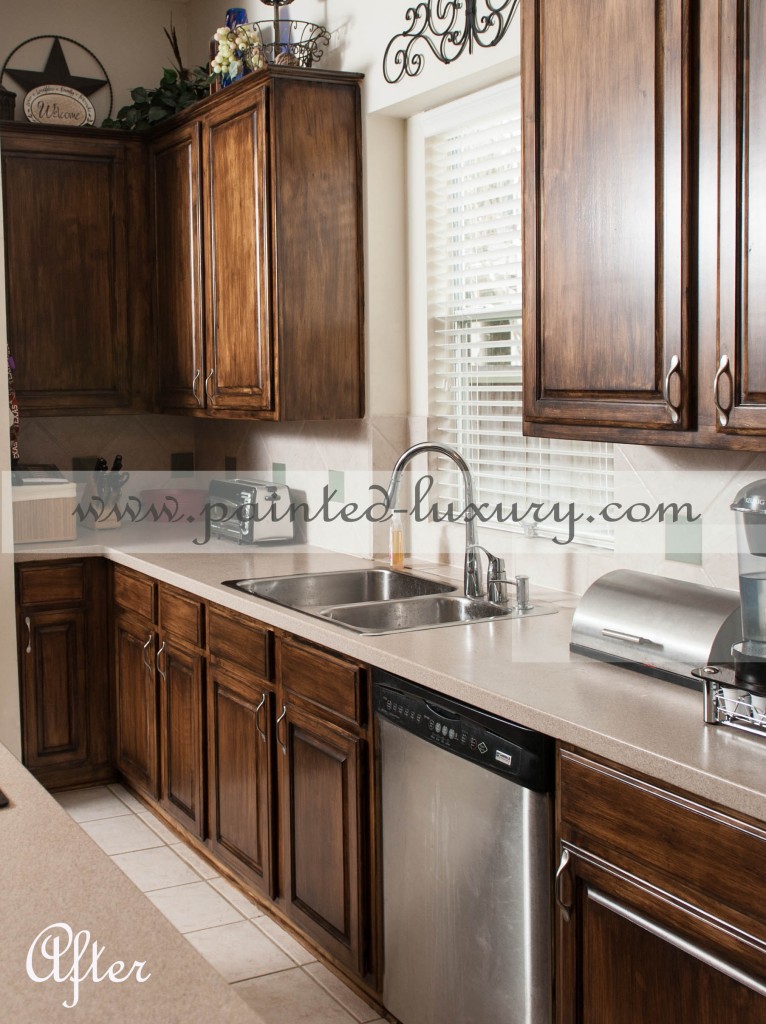
It’s such a dramatic change. If I hadn’t changed it myself I would think it was two different sets of cabinets. You are able to keep the beautiful look of wood while making it richer, more dramatic. I have a revolutionary technique that I use to change the color of your cabinets, permanently! Because I am able to do it without sanding the cabinets down to bare wood it makes it affordable for any kitchen.

before spata 2 after spata 2


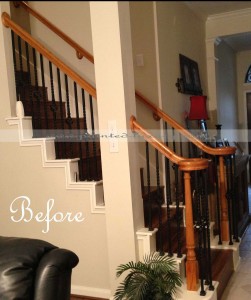
The homeowner loves her beautiful hardwood floors but wanted her staircase banister to match. It’s so amazing because most homeowners think they are stuck with the stain of their banisters!

spata-staircase-before-1 after-spata-staircase-1 spata-staircase-before-2 after-spata-staircase-2


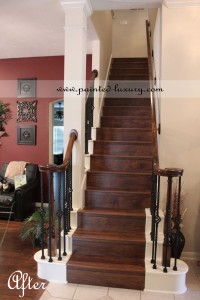
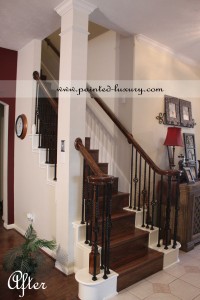
     I hope you enjoy the pictures. It would make my day if you would leave me a comment!


Working hard!

Yesterday I painted from sun up to sun down. Well maybe I’m exaggerating a little *wink*. I did paint from the time that I got myself out of bed. We were suppose to be moving into my new retail space but the weather wasn’t cooperating and my husband and I had already moved furniture in the rain once this month so we thought that was enough.

I got out my paintbrush and went to town! I painted many items, used some new techniques and finally saw the finish line with a few of my pieces. I don’t know about you but it seems like I can sometimes get discouraged when I’m at the in between stage. Not just with painting, with most projects. When I catch a glimpse of what the furniture will turn out to be and it looks like what I have in my mind’s eye my excitement gets the better of me and I push through to the finish line. Here are just a few of the tables I painted. I did both of them using my new “tarnished” finish. I love the finish!

Tarnished Gold Table

Tarnished Gold Table

Tarnished Silver & Bronze Table

Tarnished Silver & Bronze Table


I’d love for you to visit my space at The Antique Gallery now that we’ve been able to move a few pieces in. My booth is L8. It’s such a fun place. It’s one of those places that you never know what you will find. That’s so hard to say that today with everything being in a mall or a mega store.

www.antiquegalleryhouston.com

Kitchen Island Makeover

What a fun project. Here is the before:

While the kitchen is nice the island doesn’t stand out.

And here is the after.

Island now painted distressed black.

Close up

This is a large kitchen and I think that the island could get lost. The island has been painted a black/charcoal color with many brown and black glazes over it. It is finished in layers of polyurethane that will hold up to the great wear and tear that are required from a kitchen. In the after photo the island is now the center of attention. Hope you enjoy and please contact me for a no obligation quote on your cabinet makeover!

Hello world!

Ok here we go. This is my first blog entry and I’m super excited about it. I hope to show you in my blog part of the process of choosing the furniture that I do and the transformation that it goes through. I also want to show before and afters. Isn’t that always the best part of a project? I could go through looking at them all day.

I am also hoping to keep you updated on the store and other avenues that I take with the business. Come along for the ride. I believe it will prove to be a lot of fun!

A view of the store